Everything you need to set up, run, and troubleshoot Simple Locale day to day.
Simple Locale live-translates the names of every object (categories, variables, tiles, links) inside of the category you choose in your visualization - including the content of string variables set up specifically for this, e.g. hint texts or entire HTMLBoxes. If a link points to a string variable outside the category of your visualization, the content of that string variable will also be translated.
The actual translation is handled automatically by a language service in the background: a free provider out of the box with zero configuration, plus optional Google Cloud Translate and/or DeepL for larger free quotas and more languages. If a service fails or its quota runs out, the next one in the chain automatically takes over.
Every text is translated once and then stored permanently - a rescan only translates new or still-empty entries, never ones that already exist. That also applies to translations you correct manually in the configuration form: they are never overwritten automatically.
Switching languages happens through a dedicated, compact tile with a dropdown built right into your visualization - no extra variable needed.
⚠️ Important before you start: back up your Symcon system. That goes for any module installation or configuration, not just Simple Locale - so you can always get back to a working state, stress-free, if something goes wrong.
Install the module via the Module Store - it is listed there as Simple Locale, without the “for IP-Symcon” suffix. Or manually add the module in Module Control via the GitHub URL https://github.com/AllardLiao/SimpleLocaleForIPS.
Select the category of your visualization where you want the language selection tile to appear, right-click there and select "Create instance". In the dialog that follows, search for "Simple Locale" and select the module - the instance lands right there as its own compact tile.
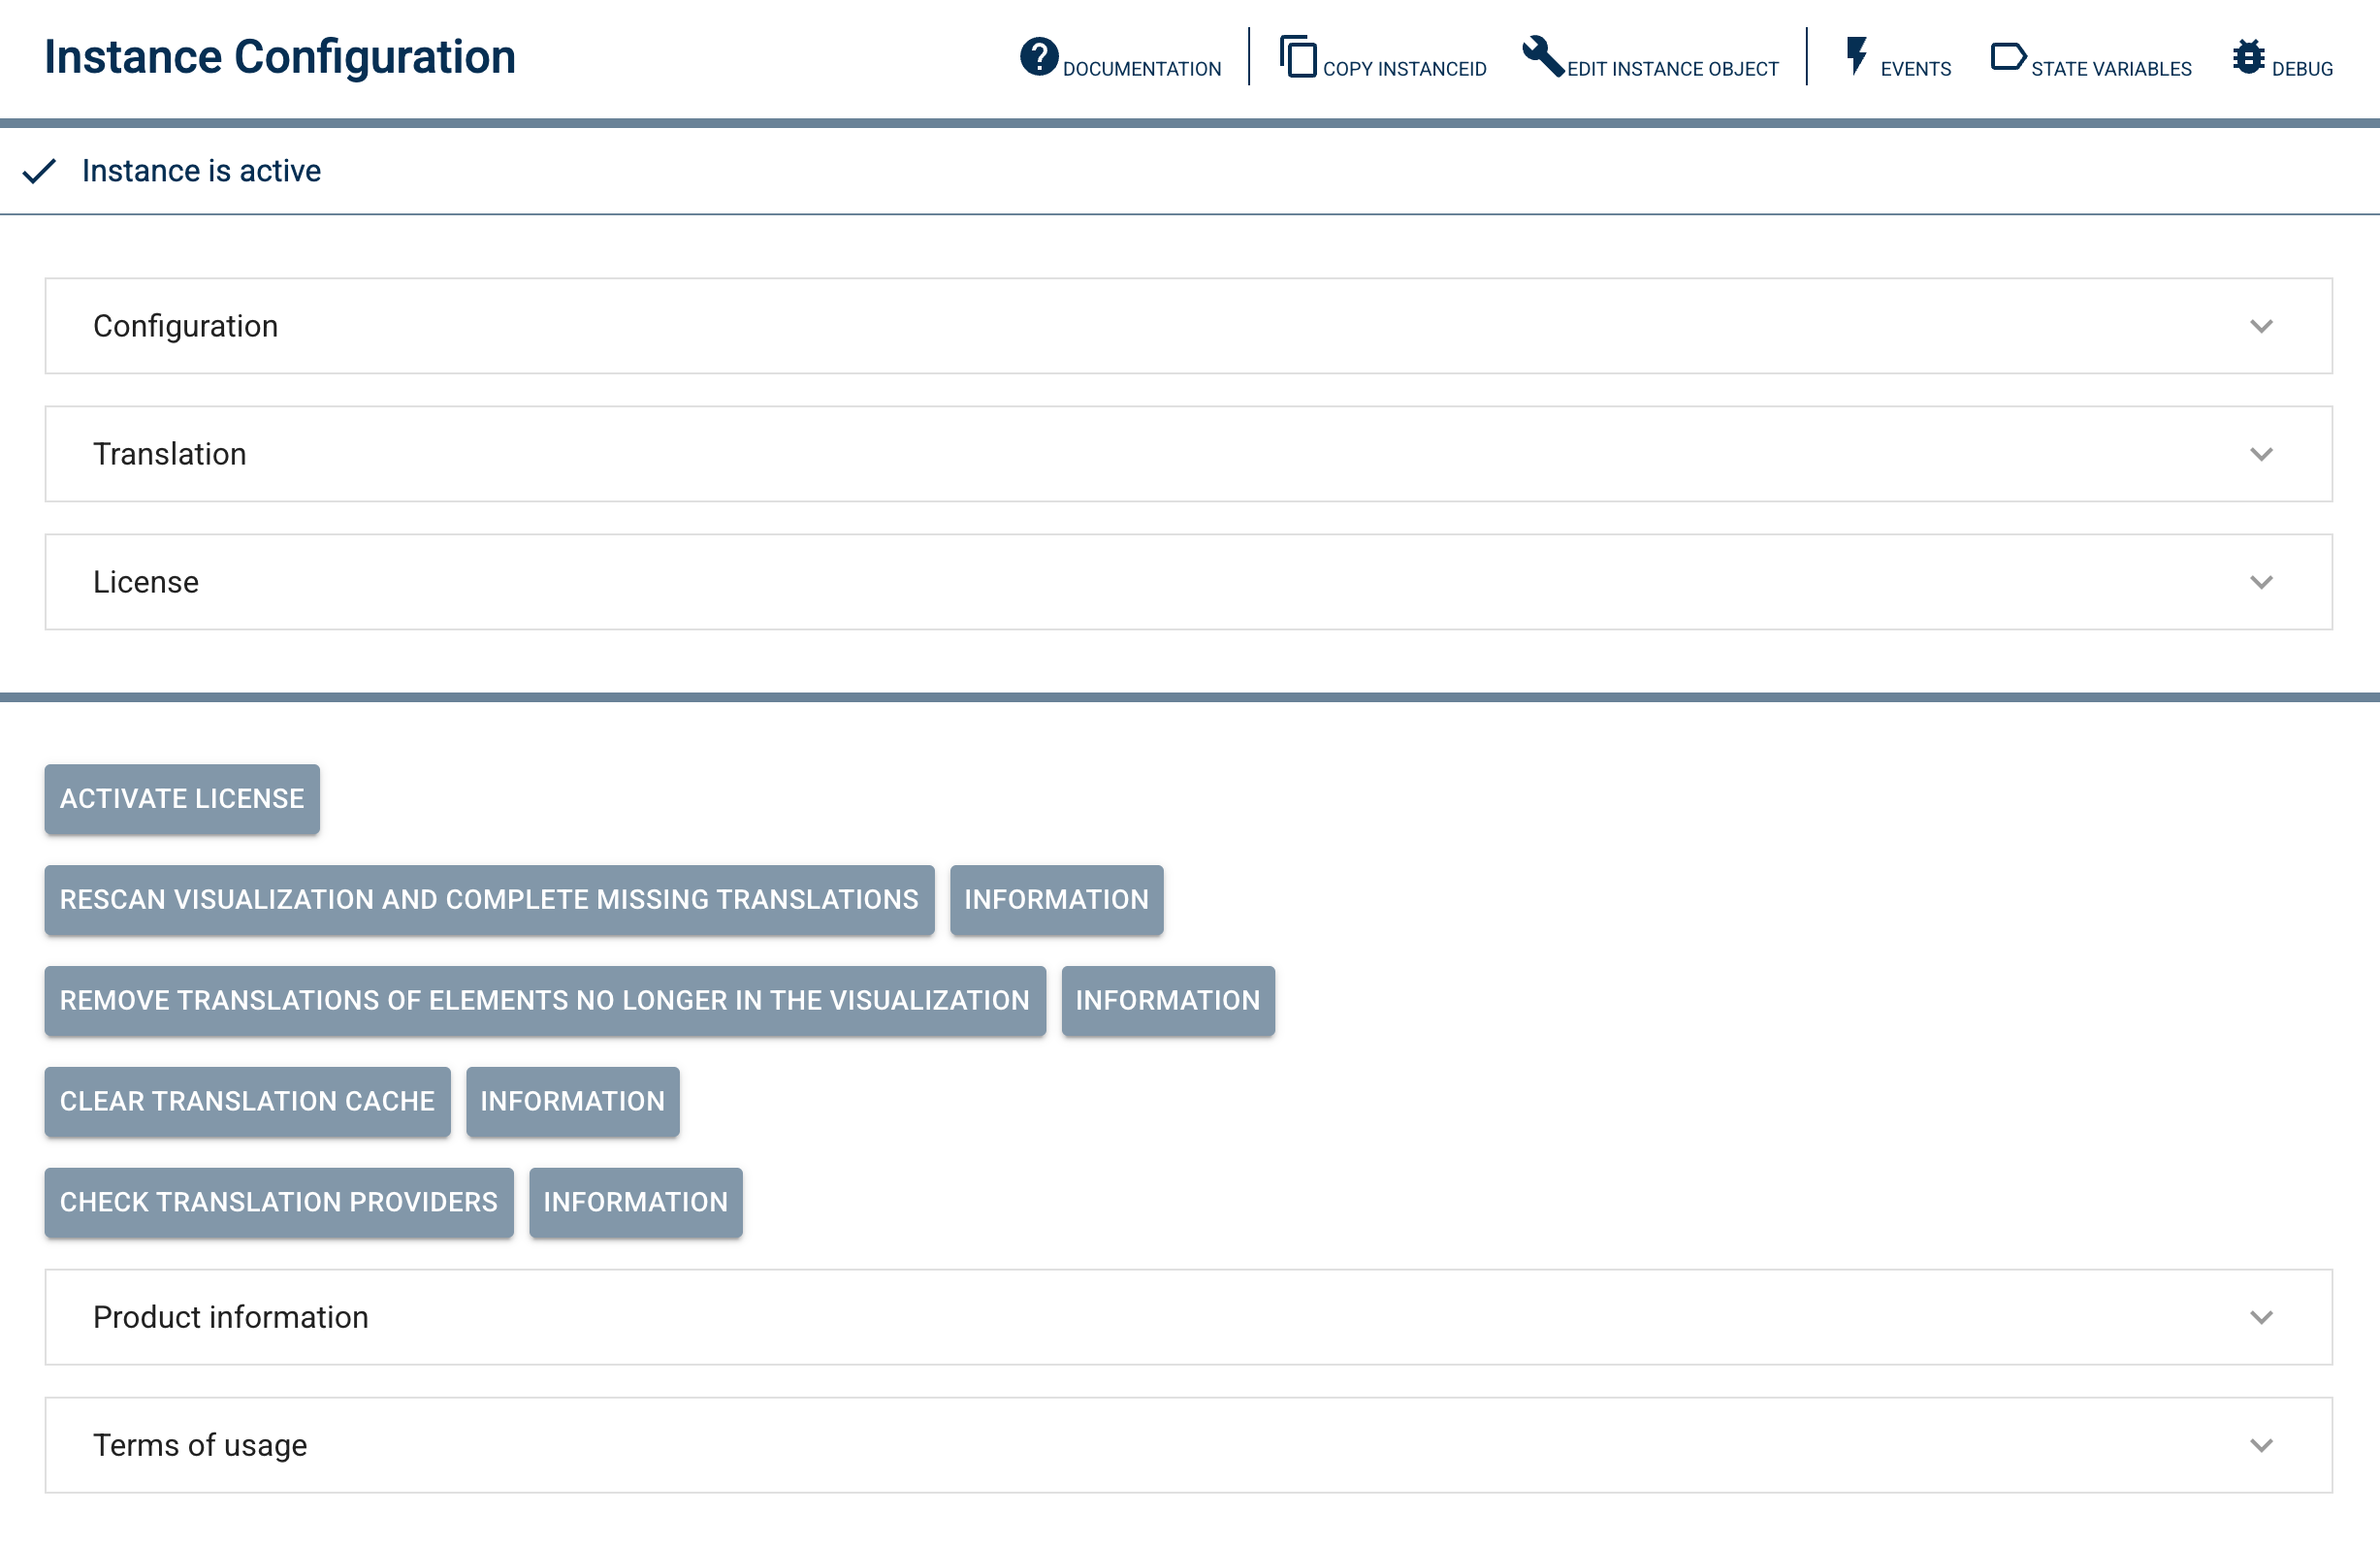
In the instance configuration, select your visualization's own instance under "Tile visualization" - usually the same one the Simple Locale tile itself sits in. That visualization instance's own start category is automatically used as the translation root. Without a selected instance, translation stays inactive.
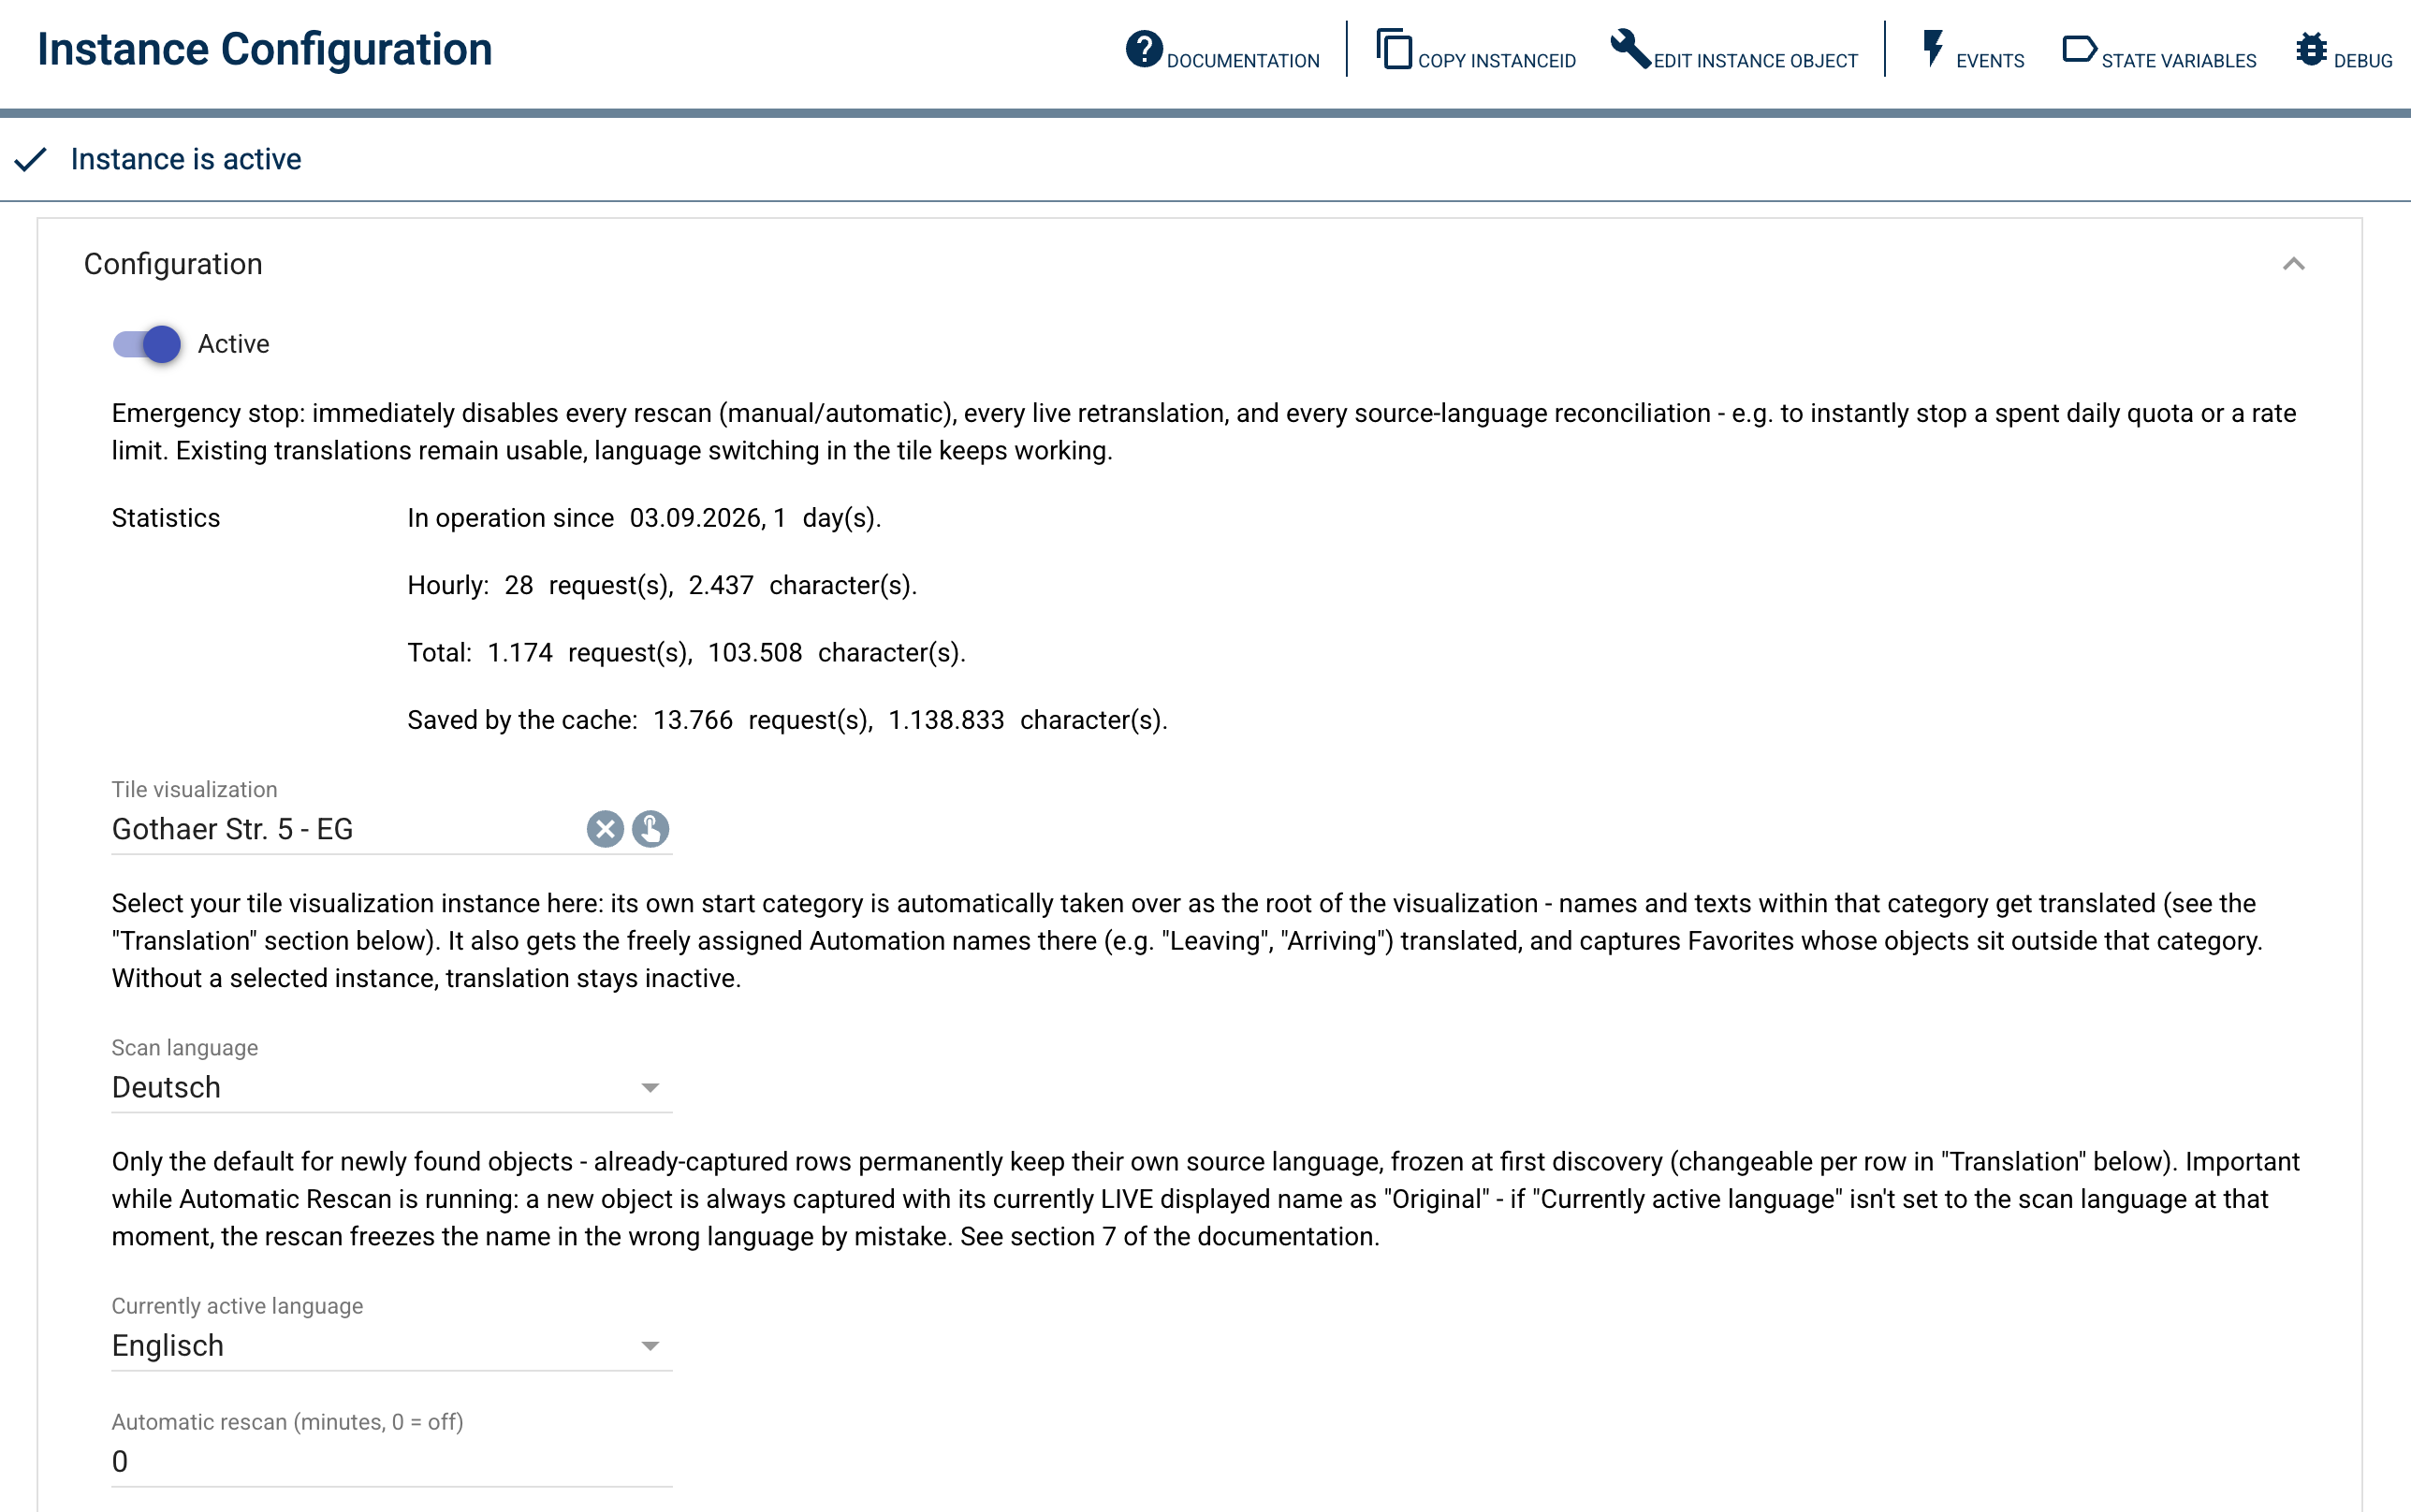
💡 Tip: Getting a key for Google Cloud Translate or DeepL is worth the effort - our experience with the free MyMemory provider makes that plain. Enter it and apply the changes before you choose your first target language: the selection list then shows the languages Google or DeepL actually support, instead of the smaller built-in list. And an API key is worth it during the trial already - translations, settings and the built-in cache are kept when you later activate a licence key in the same instance. You do not start over, and the better translation quality lasts, even once an allowance is used up and it falls back to MyMemory automatically.
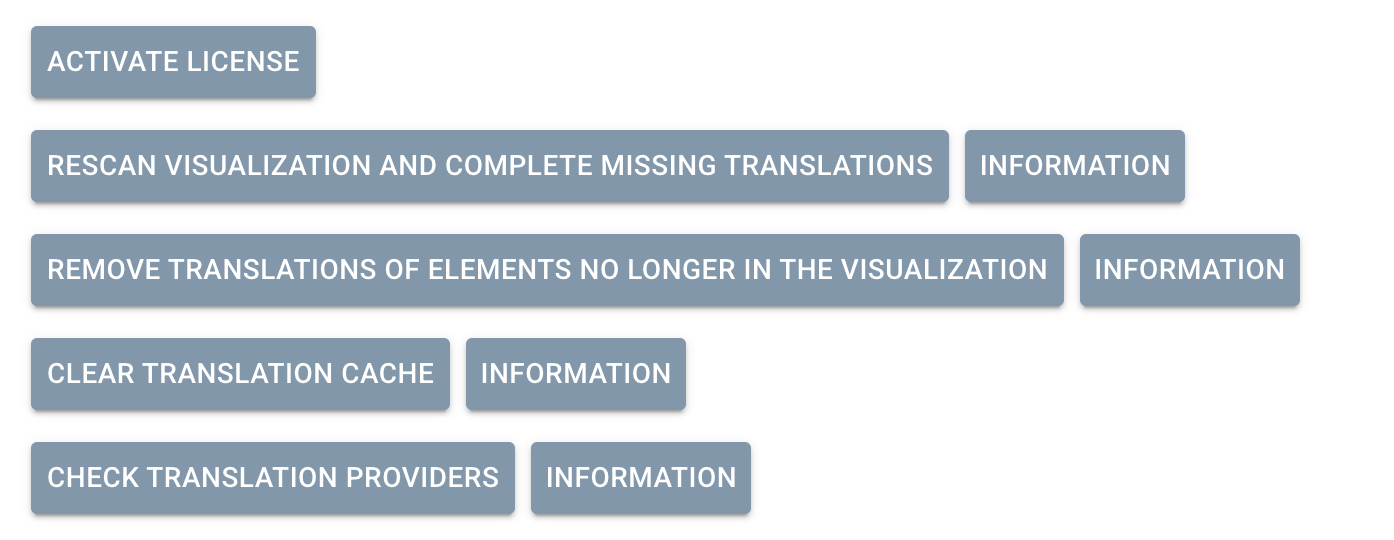
Click "Rescan visualization" once so Simple Locale finds your objects and kicks off the first translation. After that, either a schedule (automatic rescan, a Pro feature) or clicking it again whenever needed keeps it up to date.
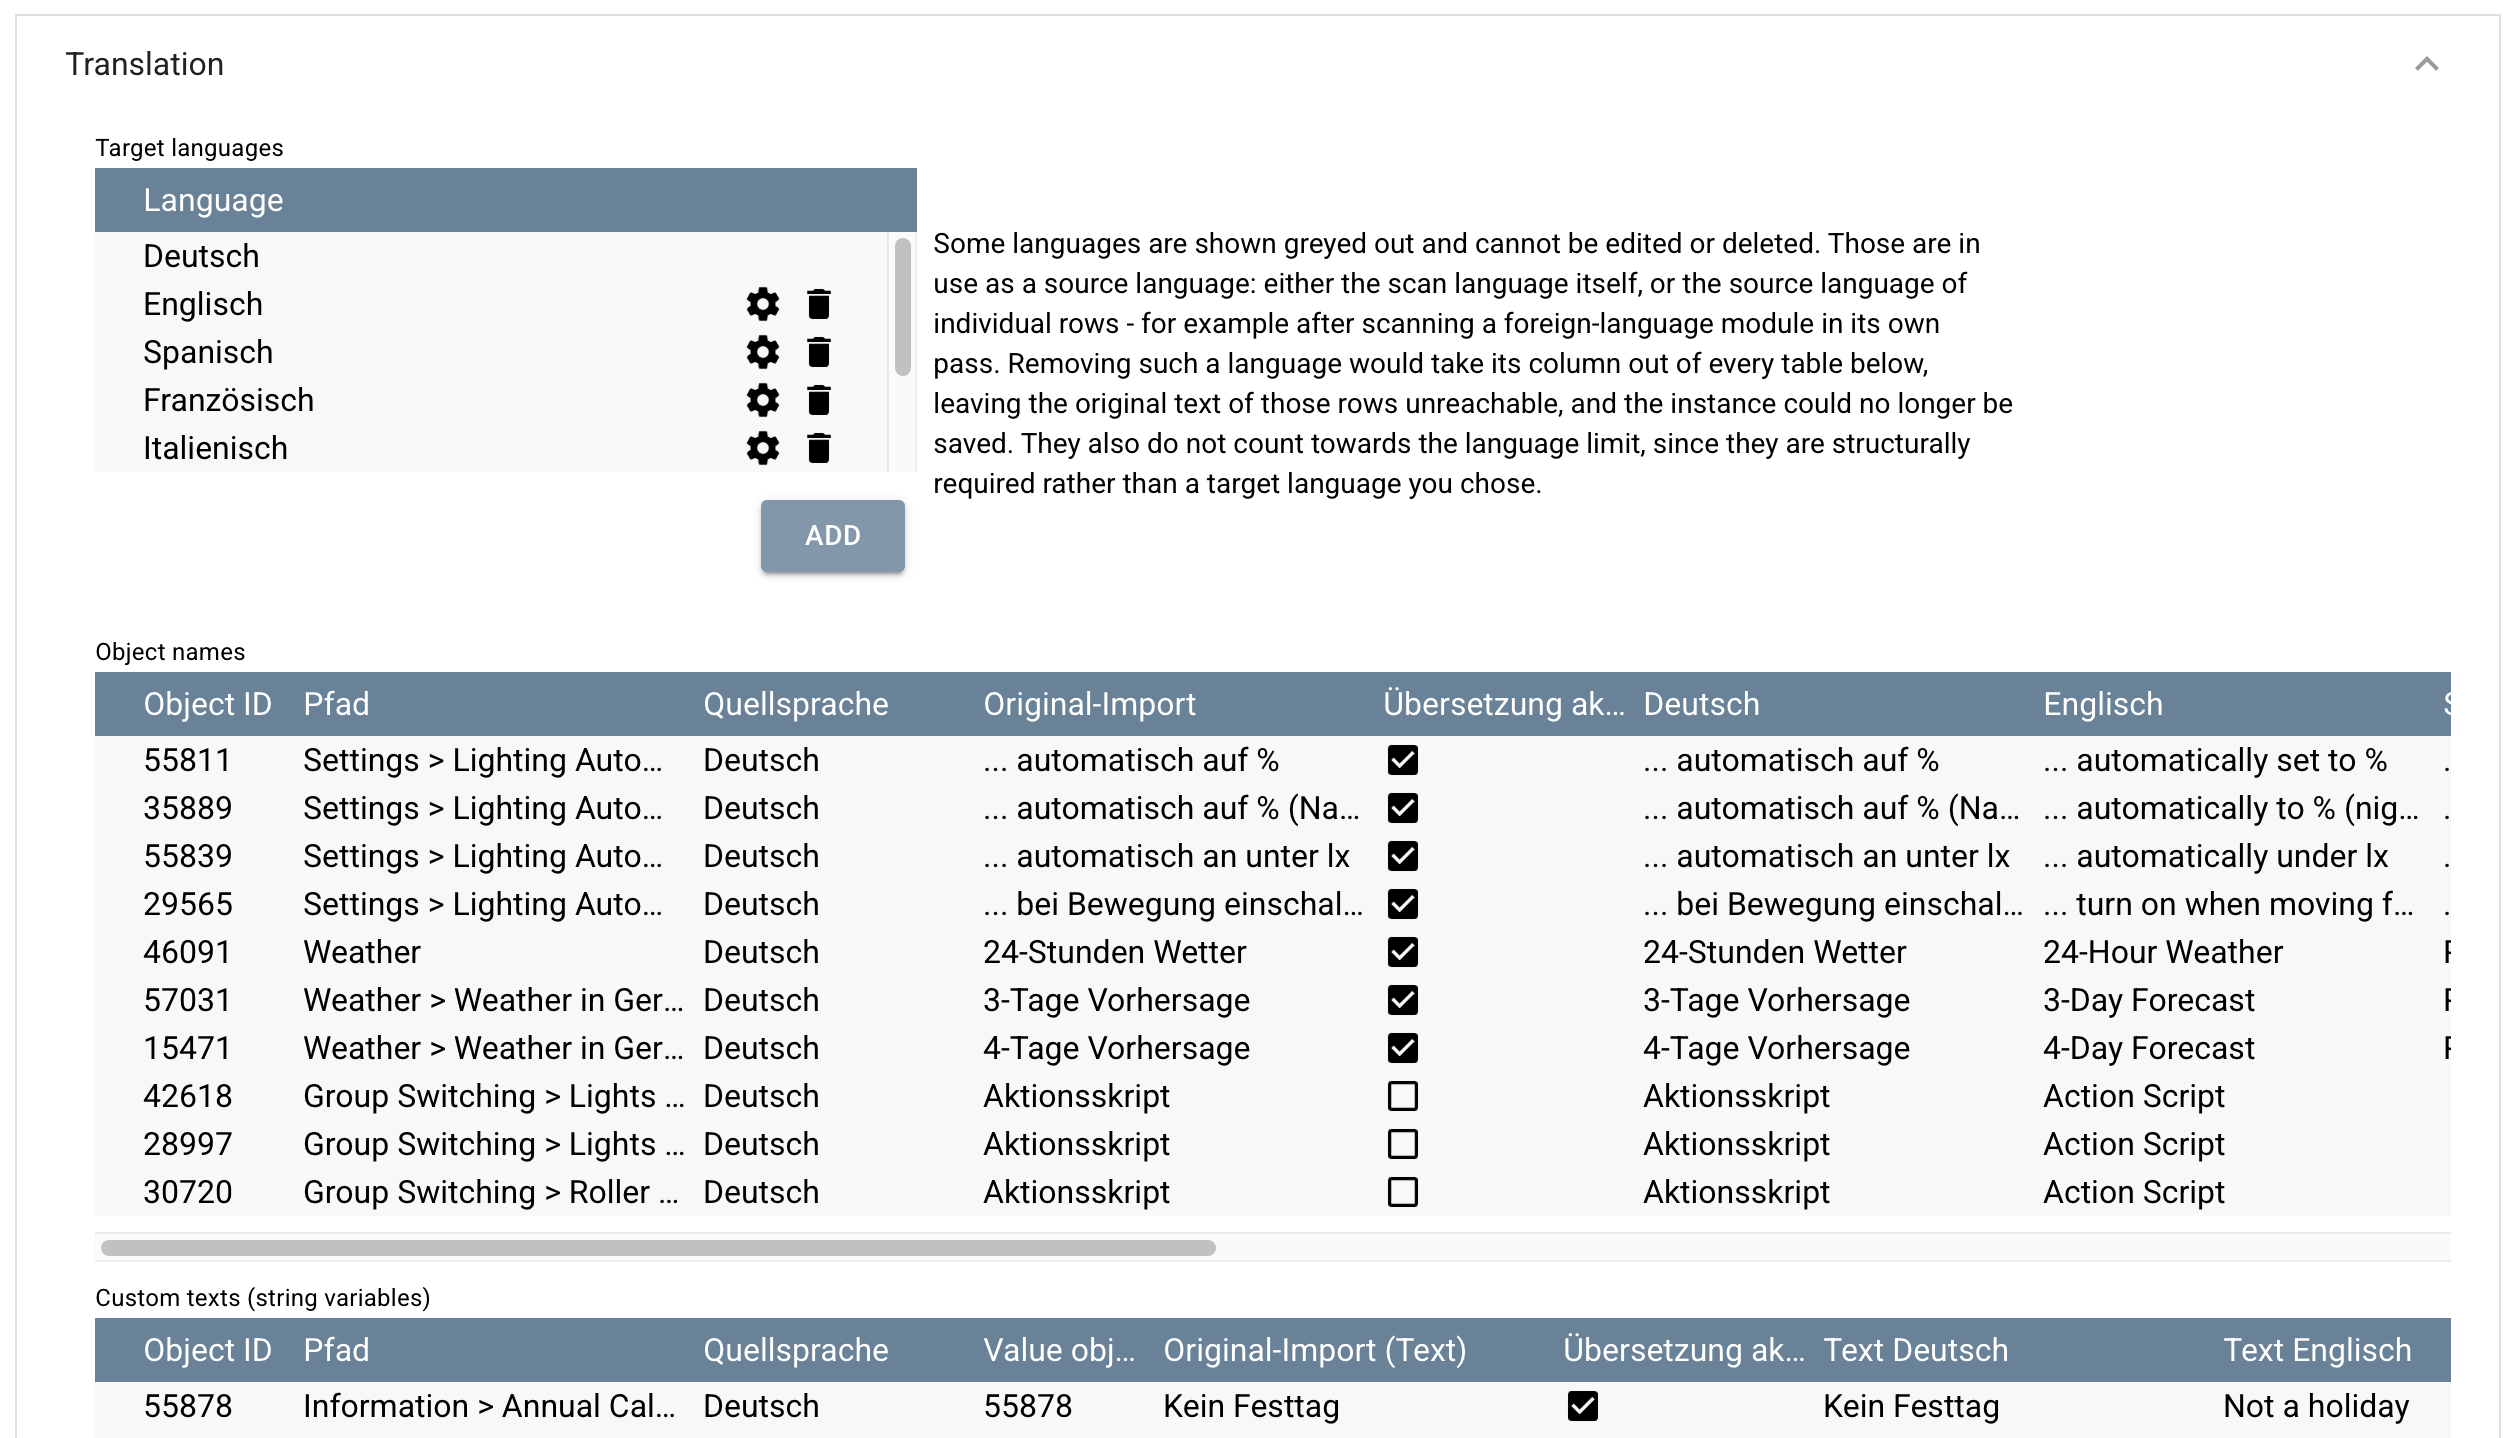
💡 Tip for the first scan: Start with just one target language and read the visualisation in with it. Simple Locale deliberately picks up objects that are hidden in the visualisation as well - whether something is visible can change at any time. Among them, though, are often scripts, actions or helper variables nobody will ever read. Take those rows out via the "Translation active" checkbox after the first run (Pro edition) - the "Path" column shows you where a row sits in the tree - and only then enable the remaining target languages: every further language will translate only what someone actually sees. See the FAQ for details.
If you have a license key, enter it in the "License" panel, apply the changes, and click the "Activate/update license" button. This will also download any icons and tiles belonging to your edition from our server.
Individual objects can be permanently excluded from translation, regardless of language - per object ID, via the "Translation active" checkbox in the relevant translation table, e.g. for the names of house residents that should stay the same in every language. (Part of the Pro edition - see the FAQ for details.)
⚠️ Only one Simple Locale instance per visualisation tree. Two active instances that share the same tree - or even just individual string variables - work against each other: on every language switch each one writes its own translation into the same objects, and each one takes the other's write for an external change. With "custom texts" this is particularly nasty, because their string variables are watched live: instance A writes its translation, instance B accepts it as a new source text, translates it again and writes it back - which in turn triggers instance A. The result is translations of translations, drifting further from the original with every round, plus a constant stream of API requests that burns through any daily quota in no time. If you want to translate several visualisations, give each instance its own tree with no overlap.
The "Scan language" at the top is the default setting assigned to a newly discovered row during its first scan. Each row in "Object names," "Custom texts," "Captions," "Automations," and "Greeting" also has its own editable "Source language" column (Pro feature Manual Editing of Translations, without this feature it is only visible for informational purposes). This allows for the clean mapping of mixed-language installations—for example, a third-party module that permanently delivers its own object names and values in English, while the rest of the installation is scanned in German.
Target languages come from a built-in list, or, once a Google or DeepL key is configured, from their respective larger, live-loaded language list.
Without a paid provider, the free service keeps translating reliably. With one or two keys configured (Google/DeepL), the exact chaining order depends on your edition - see the pricing page and FAQ for details.
Switching providers (e.g. from Google to DeepL) has no consequences: Simple Locale keeps language codes internally in one single notation and converts them for each provider. Target languages you already picked are kept, and the same language no longer appears twice in the list. One peculiarity remains: Google has no regional variants - a target language such as "en-gb" is translated there as "en".
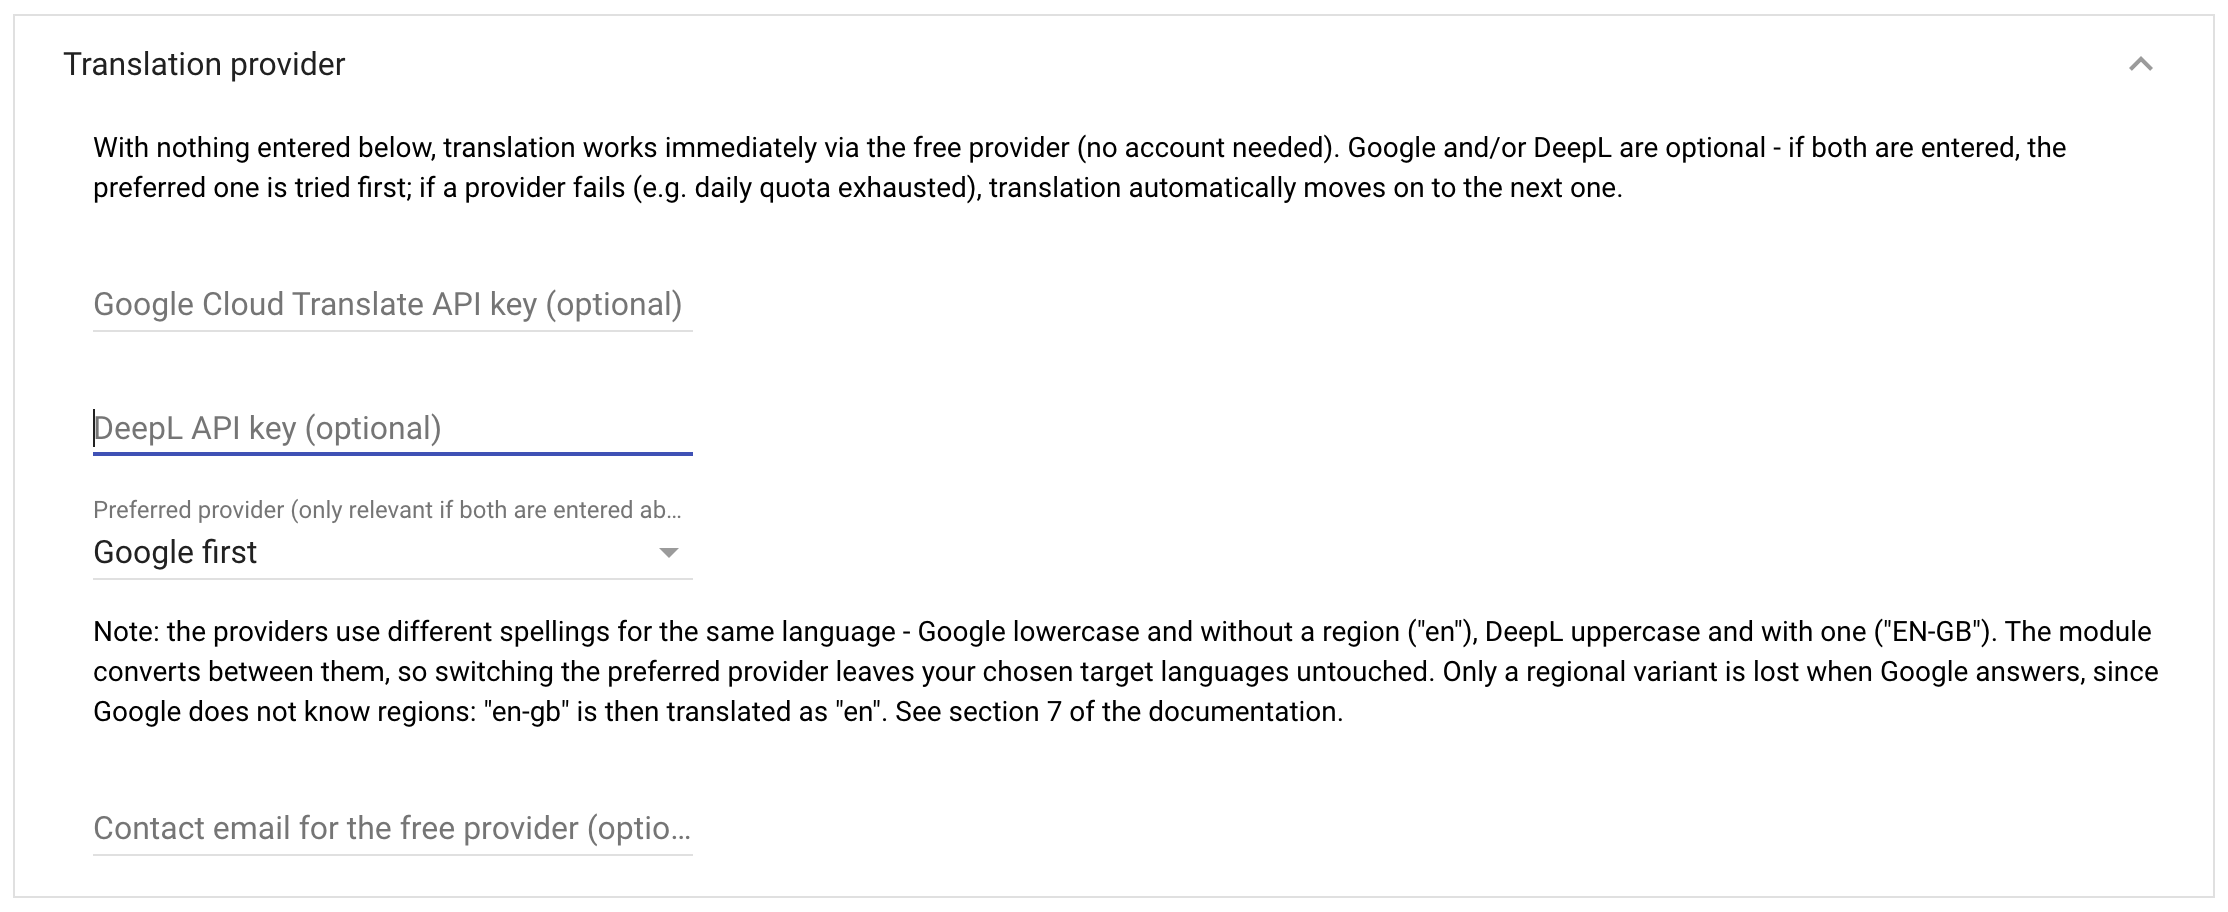
Free DeepL keys always end in :fx - Simple Locale detects this automatically and talks to the matching free server, no extra setting needed.
The language selector itself appears as its own compact tile right inside your visualization - no extra variable, no separate popup needed. Its appearance can be customized in the "Tile settings" section of the instance configuration.
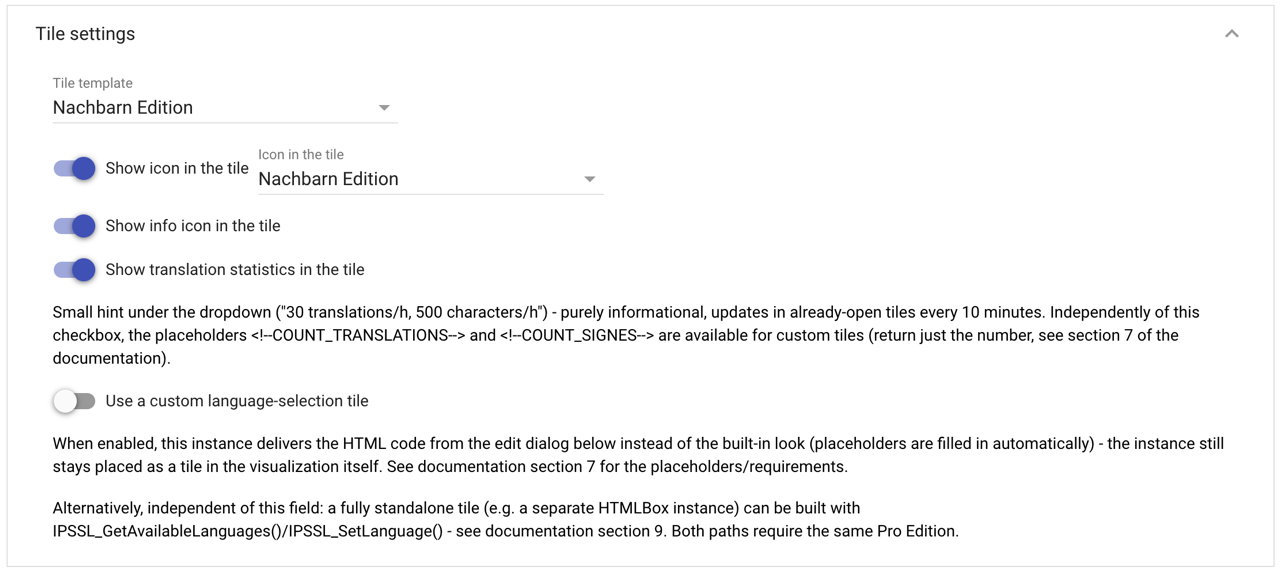
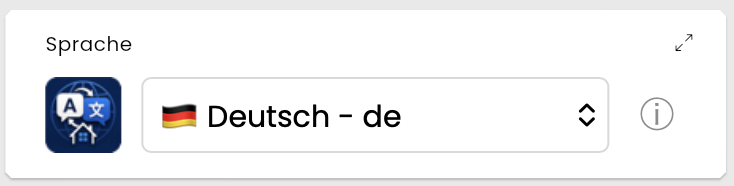
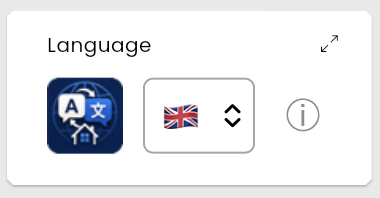
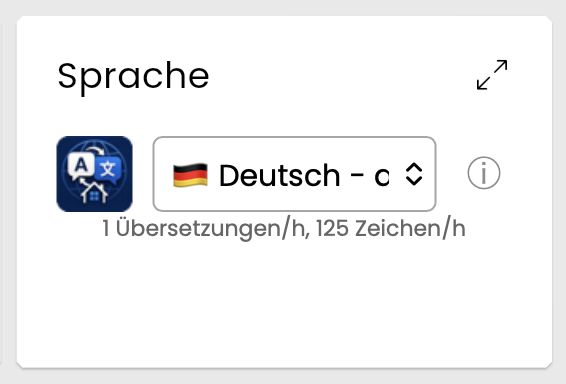
In the built-in default look, the tile shows a language dropdown with flag and language name, optionally the Simple Locale icon and an info symbol (ⓘ), plus a small stats line ("1 translations/h, 125 characters/h") - each of these can be shown or hidden individually.
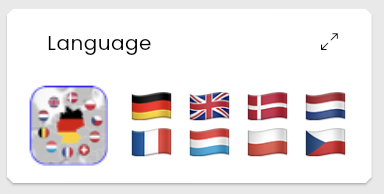
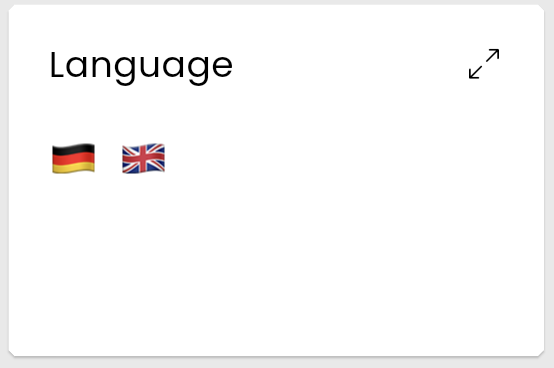
If you want something more custom, from the Pro edition upward you can design your own tile via HTML - for example just two clickable flags with no dropdown, icon, or stats, as in the example below.
The trial carries the full feature set of the Pro edition - one freely chosen target language, for 30 days, starting from the instance's first saved setup. So you are not experimenting with a token language, but with one you can go on using afterwards.
Everything is included: scheduled automatic rescan, Google and DeepL chained ahead of the free provider, your own translation table taking priority, the glossary with pre-filled units and compass directions, manual editing of translations, translation switchable off per object, and your own language-selection tile. Only the number of target languages is limited.
Install the module “Simple Locale” from the Module Store in IP-Symcon, create an instance and off you go. The trial starts with the first saved setup.
After 30 days the visualization visibly falls back to the original texts, and switching language shows a notice about buying a license instead of a translation. That is the most honest proof that the module does something: you see straight away what is missing without it.
The full version comes in three editions that differ in language count, provider chaining, and extra features - see the exact comparison on the pricing page. After purchase, enter your key in the "License key" field and click "Activate/update license".
You already have a license and want to move up to a higher edition? Do that on the upgrade page without buying from scratch. Misplaced your key? The resend page emails you all your keys again.
The full license terms are on the license page.
Output-Buffer exceeds Limit) - that's fixable directly in the Symcon console, see our FAQ.
For your own HTMLBox tiles or scripts outside the objects renamed directly live, Simple Locale provides the following commands:
string SLOC_TranslateText(int $InstanceID, int $ObjectID);
Returns the translated content of a tracked "custom text" variable in the currently active language (falls back to the original text).
void SLOC_Rescan(int $InstanceID);
Re-reads the start category of the selected tile visualization and translates newly found or still-open entries - equivalent to the "Rescan visualization" button.
string SLOC_TranslateExternalText(int $InstanceID, string $Text, string $SourceLanguage);
Translates any text you pass in live into this instance's currently active language - handy for your own modules with their own tile.
string SLOC_GetCurrentLanguageCode(int $InstanceID);
Returns the code of the currently active language (e.g. "en") - useful for rebuilding your own content only on an actual language switch.
string SLOC_GetAvailableLanguages(int $InstanceID);
Returns the list of currently selectable languages as JSON (code, display name, and whether it's the active one) - the basis for building your own fully standalone language-selection tile. Requires the Pro edition (feature "Custom language-selection tile").
void SLOC_SetLanguage(int $InstanceID, string $LanguageCode);
Sets the active language from your own tile/script, exactly like a click in the built-in dropdown (including the trial/rate-limit checks). Requires the Pro edition (feature "Custom language-selection tile").
Your own tile templates and the designs shipped with an edition can use two placeholders. Simple Locale replaces them with valid JSON when the tile is delivered, so you can write them straight into a JavaScript assignment.
<!--AVAILABLE_LANGUAGES-->
Returns every configured language as a JSON list, each with its code, display name and whether it is currently active.
[{"code":"de","name":"Deutsch","current":true},{"code":"en","name":"English","current":false}]
<!--ACTIVE_LANGUAGE-->
Returns the code of the active language as a JSON string.
"de"
var langs = <!--AVAILABLE_LANGUAGES-->;
var active = <!--ACTIVE_LANGUAGE-->;
Both placeholders are tied to no edition and are available during the trial as well. That sets them apart from the similarly named PHP command SLOC_GetAvailableLanguages(), which requires the Pro edition.
Both placeholders are filled in once, when the tile loads, and do not change afterwards. If your template should follow the active language live, define this function - Simple Locale calls it on every language change:
window.slocOnLanguageChange = function (activeLanguage, availableLanguages) { … };
The hook is a global function and is spelled exactly like that, in lower case: slocOnLanguageChange. The tile's controls also carry their own CSS classes with the sloc- prefix (sloc-select-row, sloc-globe, sloc-tile-icon …) - that is how you style the tile in your own template.
 Simple Locale